Fitting Vinyl

If you have vinyl graphics to fit yourself and would like some tips, then please read the following instructions.

Fitting Vinyl - Part 1

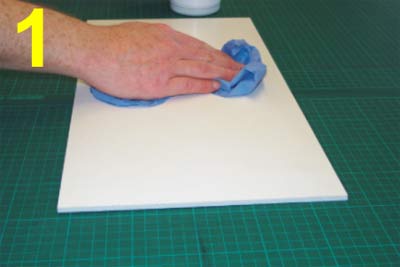
1) Thoroughly clean the surface using a degreasant cleaner such
as glass cleaner or alcohol - do not use white spirit.

Fitting Vinyl - Part 2

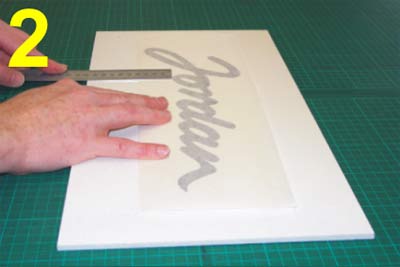
2) Position the graphic and measure if needed. Then using masking tape along the top edge fix it in place on the sign/vehicle/window.

Fitting Vinyl - Part 3

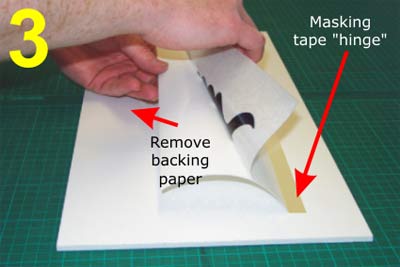
3) Carefully lift the graphic and peel the backing paper from the transfer tape using the top edge as a hinge.
If your graphic consists of text you can use scissors to cut in between the letters to make several smaller sections.
If you are applying a large graphic to a smooth surface and want to avoid air bubbles you can use a garden sprayer with about 2-3 drops of washing up liquid per lit of water to wet the surface prior to sticking down the graphic.
Note that if you use this "wet" method that you need to be specially careful to squeegee all the water out from the graphic before removing the transfer tape.
You may also need to leave the tape in place for some minutes in order to get the adhesive to begin to stick.
Do not use more washing up liquid than the recommended amount as this will stop the graphic from sticking properly.

Fitting Vinyl - Part 4

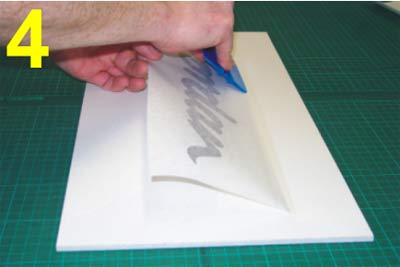
4) Holding the bottom edge of the graphic so that the graphic stays clear of the sign/vehicle. Slowly work from the top downwards with the squeegee using medium pressure.

Fitting Vinyl - Part 5

5) When the graphic is all stuck down, go over the surface again using a firm pressure.

Fitting Vinyl - Part 6

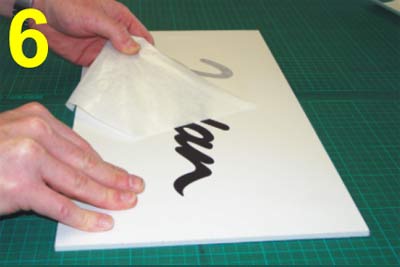
6) Carefully remove the transfer tape at the angle shown above. Keep an eye on the graphic as you do this in case it lifts anywhere - if it does then re-squeegee that area again.

Fitting Vinyl - Part 7

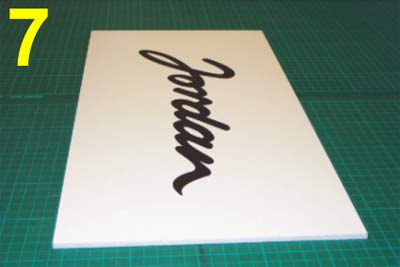
7) Hopefully there are no air bubbles! If there are then use a very
sharp knife to puncture them and squeeze out the air by hand.